|
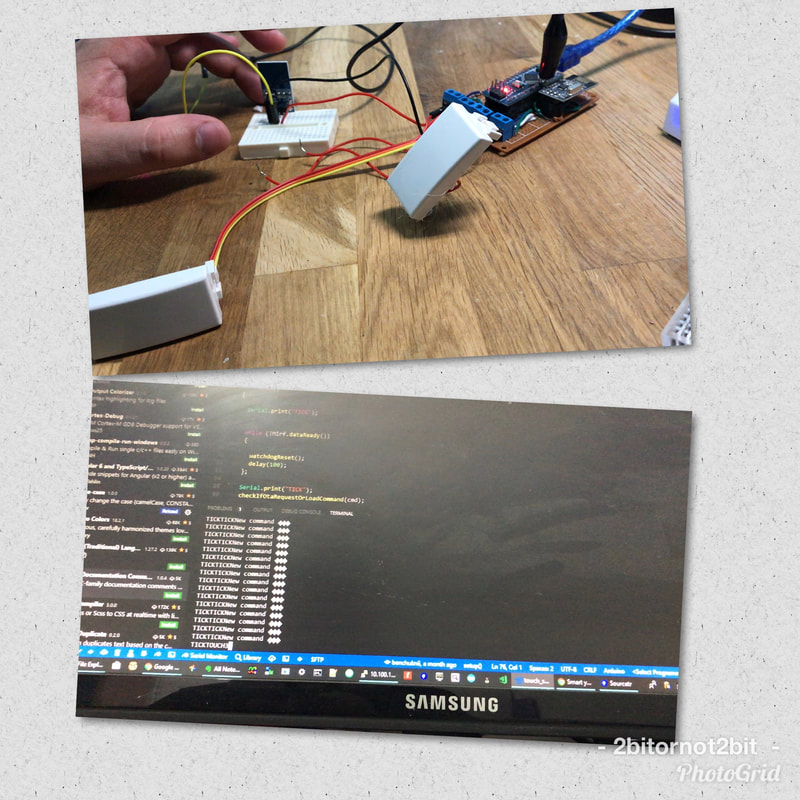
So I wanted to connect my Smart-Home DIY system to Apple HomeKit and so it turns out it is not so hard to do. My system has an open source nodejs server and an easy to use API to control lights, TV, AC and more. The only thing I was missing is an easy to use UI with automation and security. It happens to be that I am an Apple fan with an iPhone so why not connect it to HomeKit and as a bonus I will have Siri commands from my iPhone and apple watch and even from the apple TV. To do that I used Node-Red. installing it on windows is easy and you can even install it on raspberry pi. If you want to get an idea what Node-Red is doing exactly check their intro Once you have Node-Red installed you will have to install a plugin named node-red-contrib-homekit. You just click the menu icon -> Manage palette -> Install tab -> search for: 'node-red-contrib-homekit-bridged' -> click install 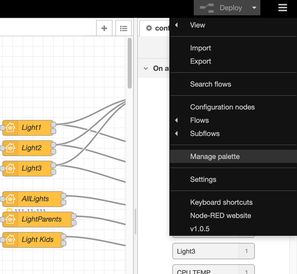 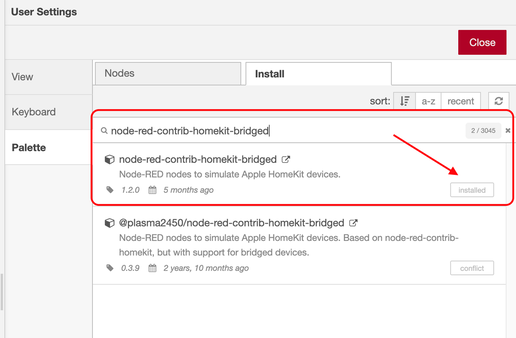 After that you will be able to build something Node-Red calls 'flow' which is actually a configuration or a description of your emulated apple devices and what to do when you press a button on the HomeKit app. The end result will look something like this: 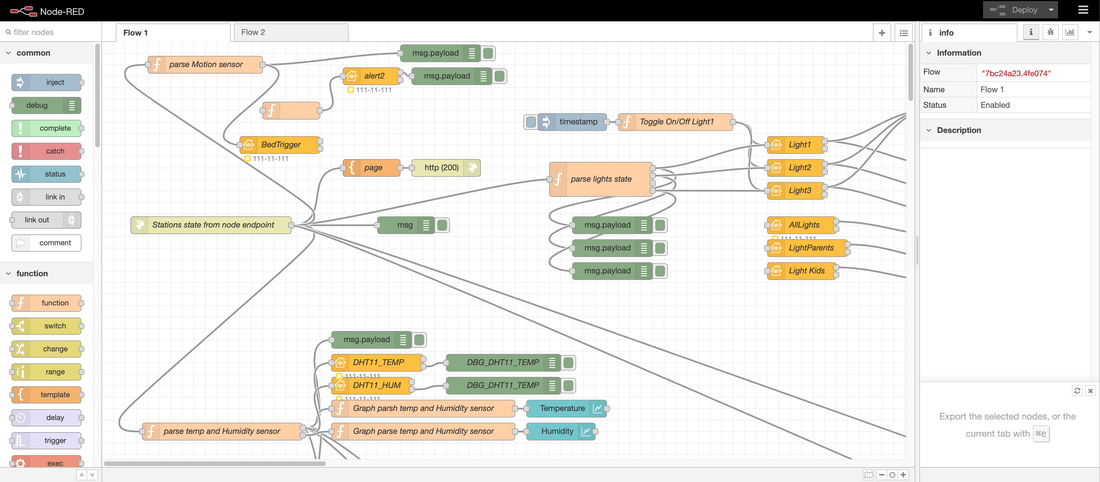 All you have to do now, is configure an 'Emulated HomeKit Device' and tell it what to do. To add one just drag from the left panel a node named 'HomeKit' and then drag a node named 'http request' we will connect them to each other in a second. So let's start with the 'HomeKit' node. After placing it on the 'flow canvas' we can double click it and configure it, we will do a light switch: You will have to define a Bridge (a backend container for the switch) and named it (in my case 'Light1'), the pin code is used when scanning from the Apple Home app - you can just leave it as is, basically just give it a name and save. then in the 'properties' assign it the service type Lightbulb (there are many services you can explore and each looks and behave differently on the apple Home app). 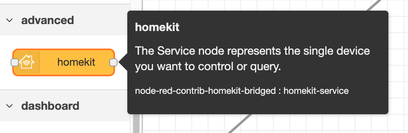 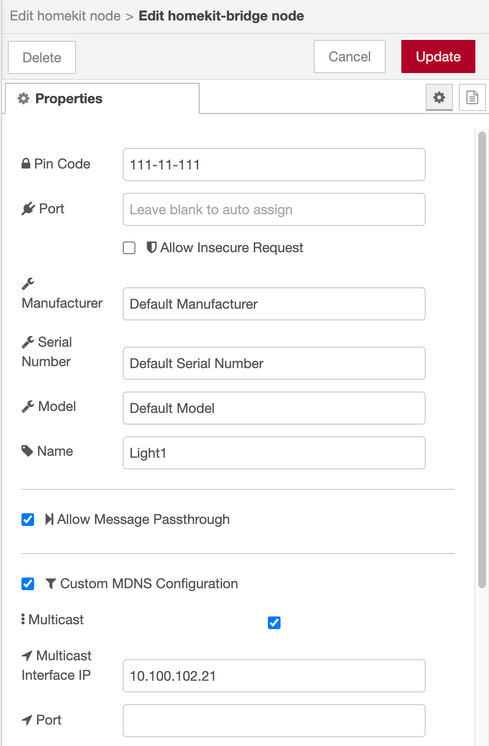 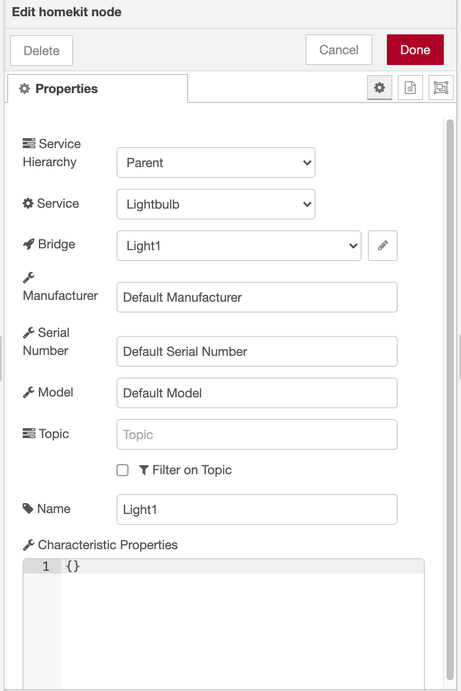 Now let's configure the http request node. Double click it and in the URL type 'http://YOUR_LOCL_IP_:PORT/API' (You could also use a javascript function node before and do some tricks if you wanted) 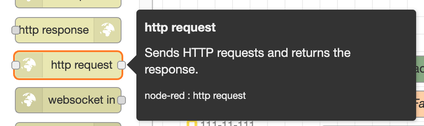 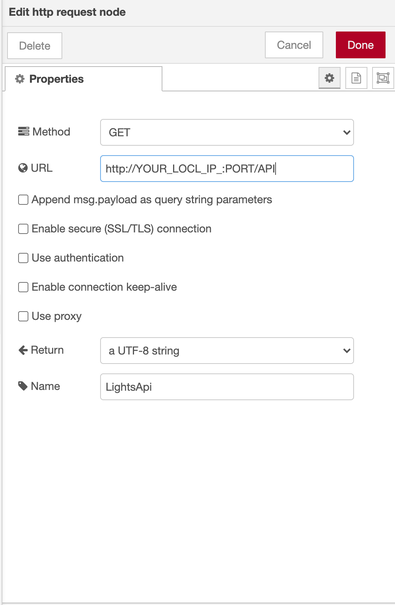 Now just connect the HomeKit node to the http request node by dragging a line between the little squares at the edge of the nodes. 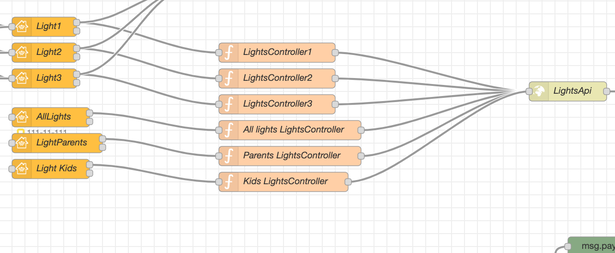 To make this node available we have to run the flow, so click 'deploy' on the top right Now let's scan and configure this emulated device from the Home app on IOS.
That's it, when ever you click on the IOS app light button you will make an http call.
Note that the 'homekit-node' will send your http-node (or function) a 0 or 1 depending if the light should go off or on, this is why I have a function node in between the http-node and the homekit-node where I modify the URL before placing the http request, so my server will know if it is an 'on' or' off command. Hope it works for you and that you will enjoy it as much as I do 👨💻 Comments are closed.
|


 RSS Feed
|
|
|